To install Ubuntu Linux on windows follow instructions from following site
Open PowerShell as Administrator
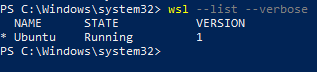
wsl --list --verbose
If you see error then run following command
dism.exe /online /enable-feature /featurename:VirtualMachinePlatform /all /norestart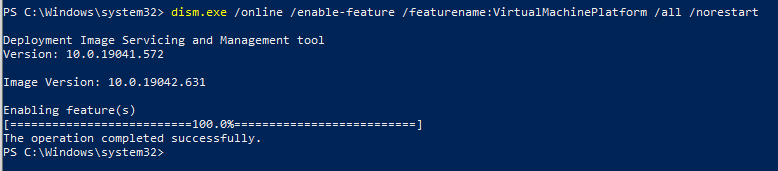
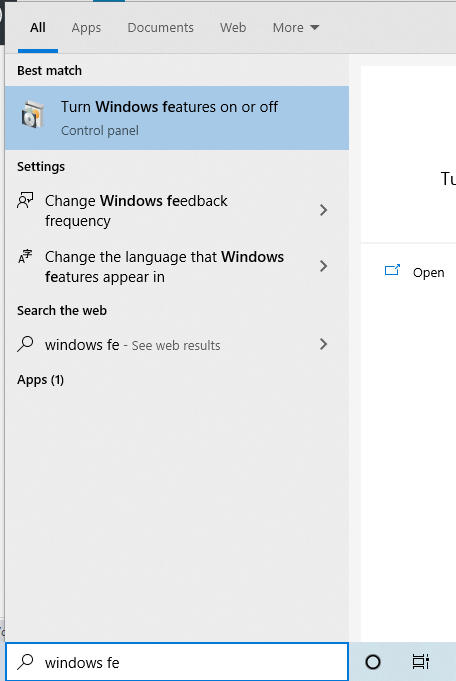
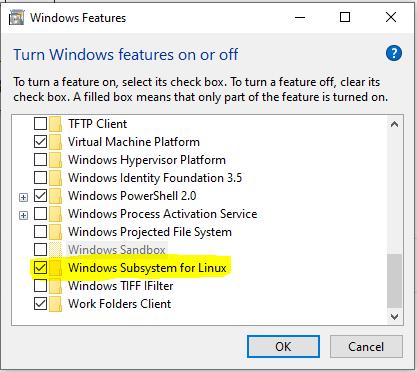
Now enable WSL from Windows Features
Restart PC
Restart-ComputerInstall Ubuntu from Microsoft Store
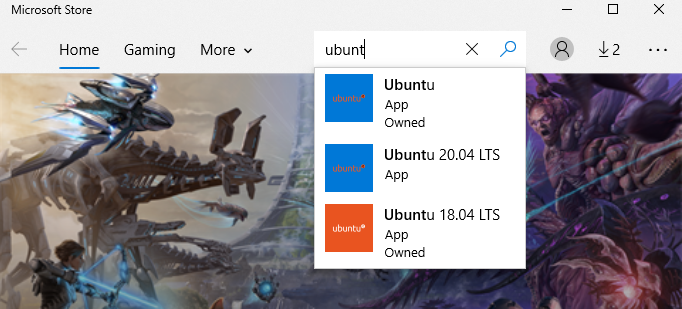
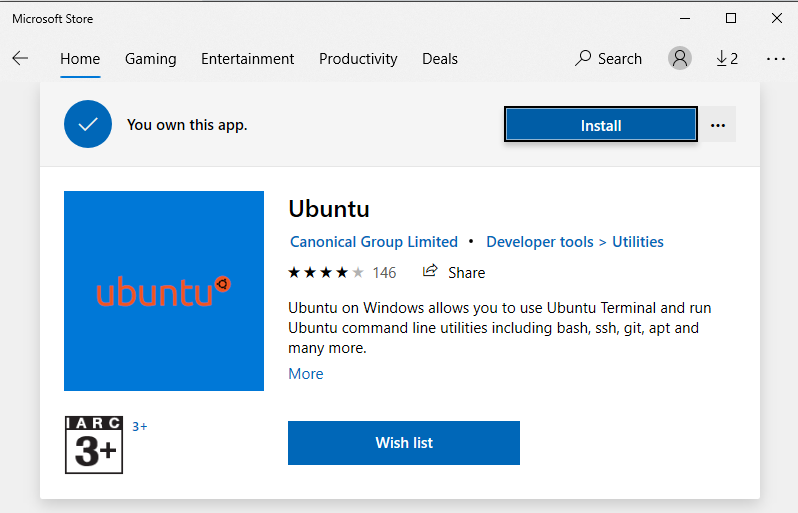
Once you install it will show launch option
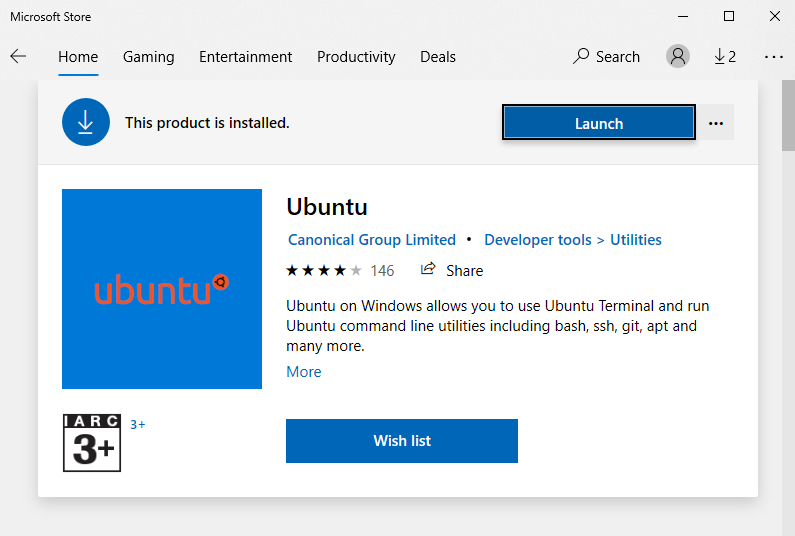
Click on Launch or search Ubuntu on windows search
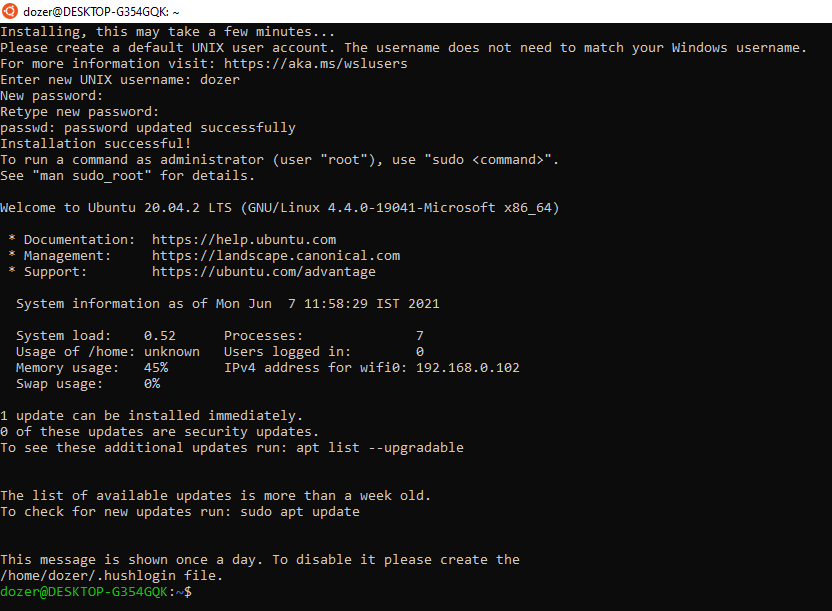
You will be prompted to add new user which will be default user of Ubuntu
Once successfully installed you can open powershell and check installed WSL on your system
To update wsl from version 1 to version 2 (Optional)
You need to run following command
wsl --set-default-version 2
If you get issue you can upgrade kernal component by download and installing update msi
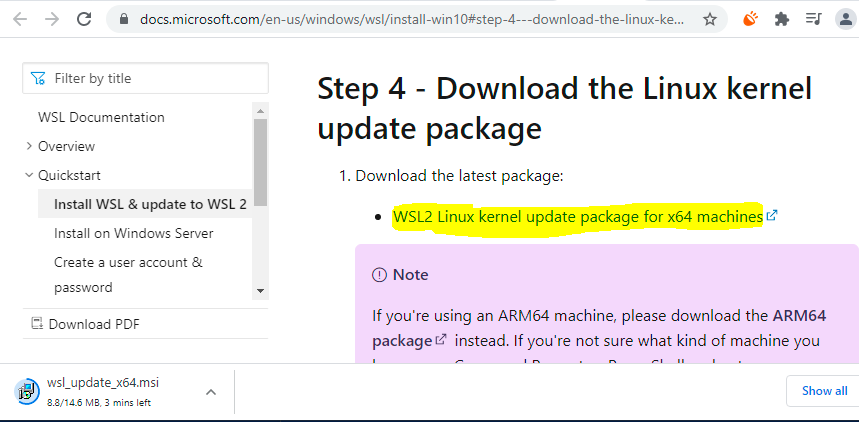
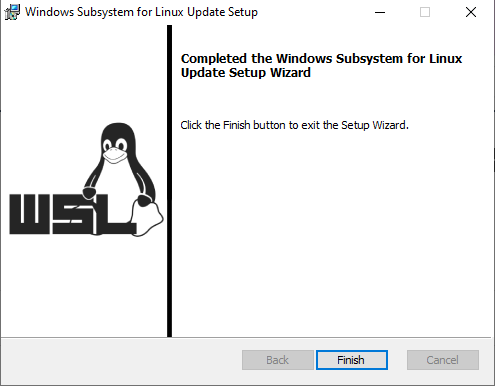
Once you update wsl kernal
Run following command again

Now update Ubuntu from version 1 to 2
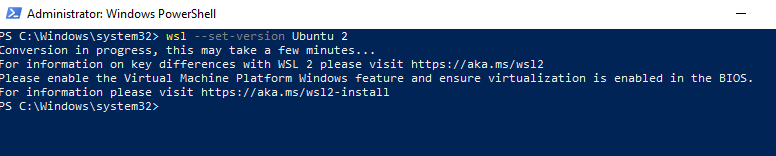
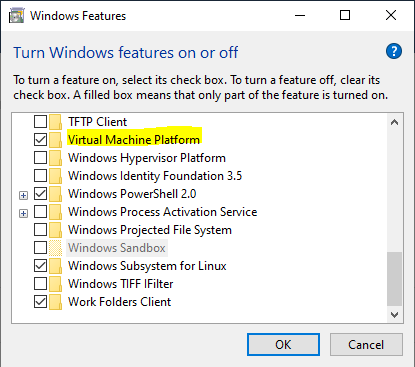
If you get error do enable to Virtual Machine Platform from Windows Features
Now Restart PC
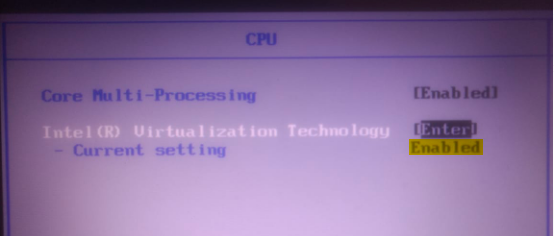
Restart-ComputerIf you still get the error then do enable virtualization from BIOS setting
Ubuntu path on windows explorer
\\wsl$\UbuntuUpdate and Upgrade Kernal
sudo apt-get update
sudo apt-get upgrade
Install Nginx Web Server
sudo add-apt-repository ppa:nginx/stable
sudo apt-get update
sudo apt-get install -y nginx
sudo service nginx start
sudo service nginx status
sudo service nginx status
Install PHP and its services
sudo add-apt-repository ppa:ondrej/php
sudo apt-cache show php
sudo apt-get install php7.4-cli php7.4-fpm php7.4-curl php7.4-gd php7.4-mysql php7.4-mbstring zip unzip
php --version
php -r "echo 'Hello World' . PHP_EOL;"
php -S localhost:1234
sudo service php7.4-fpm start
sudo vim /etc/php/7.4/fpm/pool.d/www.confFind
listen = 127.0.0.1:9000Replace
listen= /run/php/php7.4-fpm.socksudo vim /etc/nginx/sites-available/defaultFind
index index.html index.htm index.nginx-debian.html;Replace
index index.php index.html index.htm index.nginx-debian.html;Find
#location ~ \.php$ {
# include snippets/fastcgi-php.conf;
#
# # With php-fpm (or other unix sockets):
# fastcgi_pass unix:/var/run/php/php7.4-fpm.sock;
# # With php-cgi (or other tcp sockets):
# fastcgi_pass 127.0.0.1:9000;
#}
Replace
location ~ \.php$
{
include snippets/fastcgi-php.conf;
#
# # With php-fpm (or other unix sockets):
fastcgi_pass unix:/var/run/php/php7.4-fpm.sock;
# # With php-cgi (or other tcp sockets):
# fastcgi_pass 127.0.0.1:9000;
}
Restart Services
sudo service nginx reload
sudo service php7.4-fpm restart
Create index file in nginx’s default root directory
sudo touch /var/www/html/index.phpsudo vim /var/www/html/index.php
<?php
phpinfo();Install MySQL server
sudo apt install mysql-server
sudo mysql_secure_installation
Create new user to access mysql from php/python or any other scripting language
if you face issue while connecting to database via php then run following commands by creating new user
CREATE USER 'phpuser'@'localhost' IDENTIFIED BY '%TGBbgt5';
GRANT ALL PRIVILEGES ON *.* TO 'phpuser'@'localhost';
FLUSH PRIVILEGES;
Ref: How to install Nginx + php + MySQL on WSL Windows 10 -H2S Media (how2shout.com)